

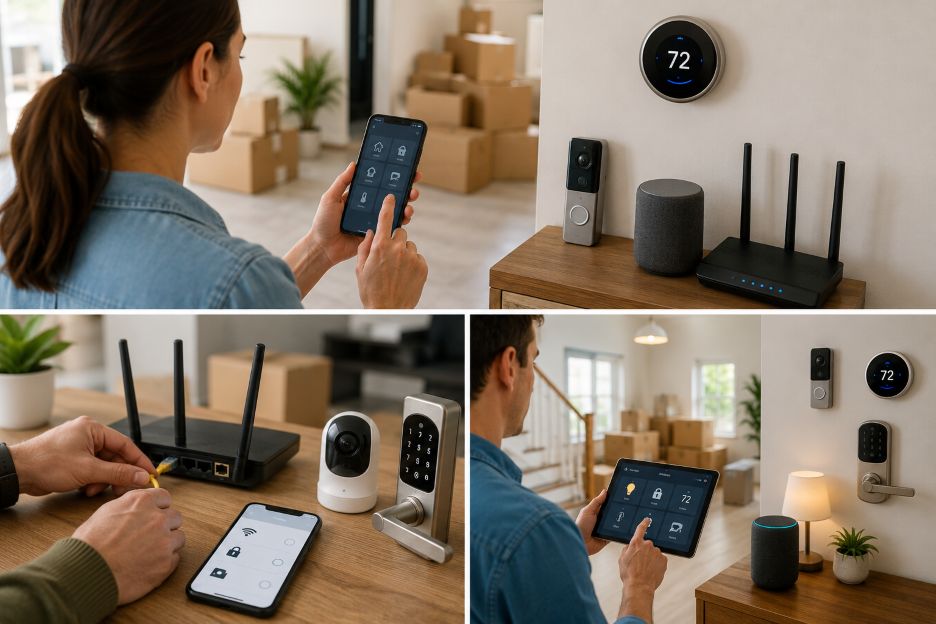
Connected devices can retain account links, Wi-Fi details, access codes, schedules, recordings, and other settings after a household changes. That makes a smart-home reset one of the first technology jobs to handle when moving into a property. Guidance from the Federal Trade Commission stresses that connected devices and the router linking them to the internet need secure passwords, updates, and access controls.
Technology setup also works best when treated as part of the wider move-in process. While getting a place ready to settle in, homeowners can coordinate device resets with cleaning, utility activation, internet installation, lock checks, and a basic security review. Doing these jobs together reduces the chance that an old account, forgotten device, or temporary password stays active after move-in day.
1. Start With an Inventory
Walk through the property and identify every device that can connect to Wi-Fi, Bluetooth, a hub, or a mobile app. Examples include thermostats, video doorbells, indoor cameras, smart locks, speakers, displays, plugs, lighting hubs, garage-door controllers, and mesh-network equipment.
The National Institute of Standards and Technology treats device identification, configuration, data protection, access control, and software updates as core parts of IoT cybersecurity. An inventory shows what needs to be reset, updated, claimed in an account, or removed.
2. Reset the Router and Build a Fresh Network
The router should be handled before most other devices because it serves as the gateway for the home network. The Federal Trade Commission recommends changing default administrator credentials, using a unique network name and password, enabling available encryption, and keeping router software current.
If the property came with a router, do not assume its old settings are safe to reuse. Factory-reset it when appropriate, then create new administrator credentials and Wi-Fi details.
3. Clear Previous Owners From Thermostats
A pre-installed smart thermostat may still contain schedules, account associations, Wi-Fi information, or settings from the former household. Google Home and Nest Help advises residents with an existing Nest thermostat to have the previous owner remove it from their account when possible. If that cannot be done, a factory reset may be needed before pairing it with a new account.
After the reset, confirm heating and cooling settings rather than keeping the previous schedule automatically.
4. Treat Cameras and Doorbells as Privacy Devices
Cameras deserve extra attention because they may contain recordings, event history, Wi-Fi credentials, and cloud-account links. Google Home and Nest Help states that a factory reset on supported Nest cameras and doorbells returns personalized settings to defaults, removes stored network details, and can erase video history.
Before adding a camera to a new network, confirm that it is no longer tied to the previous resident. Then review recording settings and shared access.
5. Reset Smart Locks and Replace Old Codes
Smart locks should be treated much like physical keys. Old access should not remain active after ownership or tenancy changes. Google Home and Nest Help says a factory reset of the Nest x Yale Lock deletes user passcodes, including the master passcode, and returns programming settings to default.
After resetting a lock, create new codes for household members. Remove temporary codes when they are no longer needed, and confirm that the device is registered only to the new household.
6. Reclaim Speakers, Displays, and Voice Assistants
Smart speakers and displays can remain tied to user accounts, household groups, routines, and stored settings. Google Home and Nest Help says a factory reset clears data from supported smart speakers and displays and disconnects the device from members of the previous home. Apple Support also recommends resetting a HomePod before it changes hands.
Once reset, add the device to the correct household account and review linked services, personal results, and household permissions.
7. Add Devices Back Slowly
Connect devices in a controlled order instead of adding everything at once. Start with the router, then security devices, climate controls, hubs, speakers, lighting, and lower-risk accessories. The Federal Trade Commission recommends changing default passwords, using two-factor authentication where available, and enabling device security features. The National Institute of Standards and Technology also identifies secure software updating as a core IoT capability.
This approach makes troubleshooting easier and gives you time to confirm that each device appears under the right account. Connected features are also spreading beyond traditional smart-home equipment. The growing use of smart technology in modern power tools, including app-based controls, tracking, and configurable settings, shows how managing connected hardware is becoming relevant to many parts of the home and workplace.
A Secure Smart-Home Checklist for Day One
Before calling the setup complete, verify the basics:
- Reset or remove devices still linked to a former resident.
- Use new router administrator credentials and a strong Wi-Fi password.
- Update firmware and apps.
- Turn on multi-factor authentication where supported.
- Create fresh smart-lock codes.
- Review camera sharing and recording settings.
- Check thermostat schedules and ownership.
- Remove unused guest access and old household members.
- Record device names, models, and recovery information securely.
A smart home should begin with clear ownership of the devices, accounts, and network that control it. Resetting first and reconnecting carefully creates a cleaner starting point. It also makes future maintenance easier because every device has been deliberately added, secured, and documented.